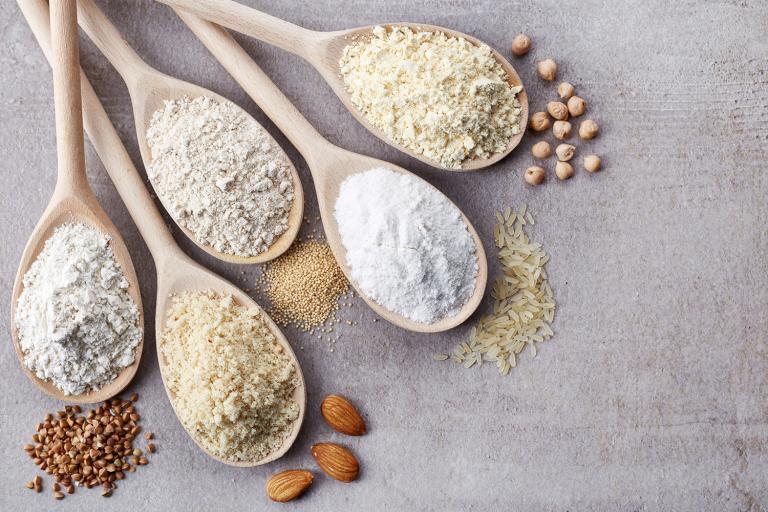
If you’re new to gluten-free baking, you’ve probably discovered that it’s a science completely different from traditional baking. The standard rules no longer apply. But with a little know-how, you can make treats to be proud of.
Basic Tips for Following Gluten-Free Recipes
- Follow a recipe’s instructions carefully. All baking—including gluten free—is a science, and tinkering with a recipe is likely to yield undesired results.
- Using a timer is crucial when baking gluten free. Don’t rely on visual cues to know when something’s done. Even when they’re cooked through, gluten-free goods can appear underdone, slightly wet inside, and soft to the touch. As these items cool, these issues are often eliminated as the starches set and become firm.
- Use the right pan for the job. This is the size and style the recipe recommends. Place the pan in the center of a preheated oven for the most even baking.
- Correct oven temperature is crucial in gluten-free baking. Make sure your oven is accurate by testing it with an oven thermometer.
Tricks for Working with Gluten-Free Batters
- With traditional baking, you are often advised never to overmix a batter. The opposite is true with gluten-free baking. Overmixing a gluten-free batter gives it more structure, so the baked good has a better chew and rise.
- Allow gluten-free batter to have some rest time. Let it sit for 30 minutes, covered, before baking. This allows the flours and starches time to soften and absorb liquid. It also helps batters thicken and become less sticky.
- If a gluten-free batter is too dense, add an extra egg before baking. The end product will be lighter and fluffier.
- Don’t be alarmed if a batter appears too thin or thick. A mistake many home bakers make is to change the amount of ingredients if something looks off. Resist the temptation and trust the recipe.
Baking Tips for Gluten-Free Grains, Flours & Starches
- Gluten-free grains and starches have a shelf life. Store them in the fridge or freezer to maintain freshness.
- Be prepared to use a combination of flours and starches when baking gluten free. While this is more tedious than using one general all-purpose flour, the end product will be better.
- Gluten-free flours and starches tend to be finer than wheat flour, so they don’t measure as evenly and consistently in the measuring cup. Use a scale to weigh gluten-free ingredients. If this is not an option, carefully spoon gluten-free flours and starches into the cup. Occasionally shake the measuring cup so the flour settles. Don’t pack the flour in or tap the cup. Scrape away excess flour with a flat edge, such as the back of a butter knife.
- Some gluten-free flours and starches can have strong and unique tastes. Mask off-putting flavors by adding extra vanilla extract or ground spices. Cinnamon works well as it has a natural sweetness.
Let go of expectations. Practice is key when learning anything new, including gluten-free baking.

